
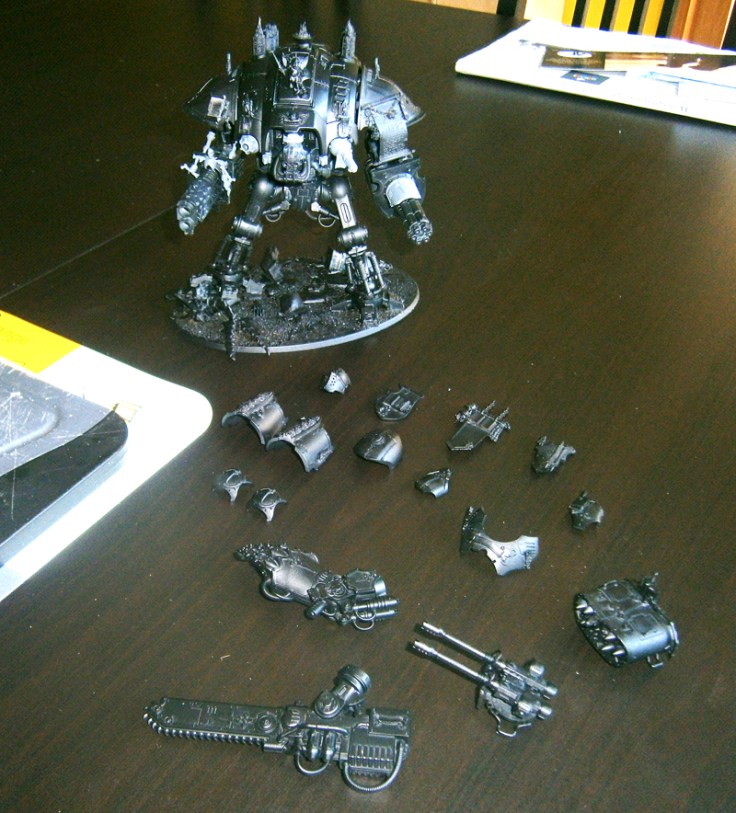
After 1 1/2 days of cutting, glueing, melting, drilling and even hurting my self (oh surprise) Step II of my Sorortias Knight is finally done – all parts are fully converted and primed. Now it is time to have a look back and start to paint.
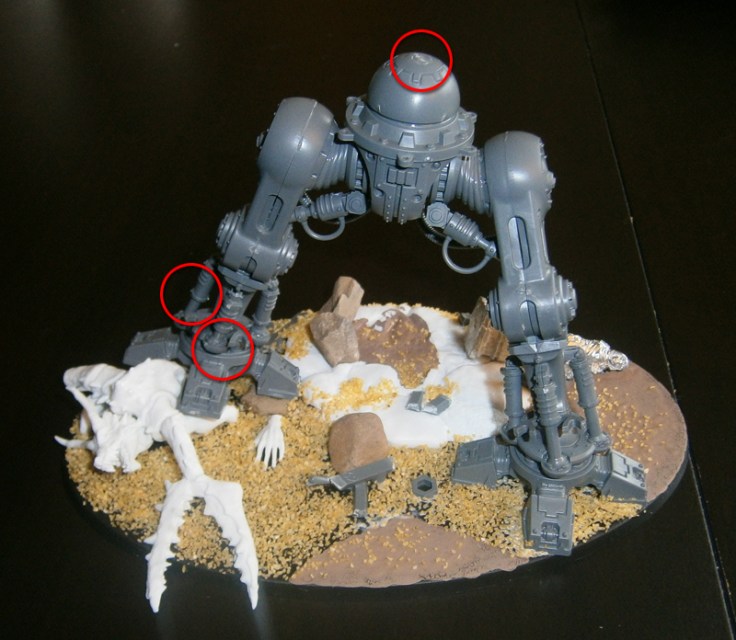
After a first impression of all the plastic parts and a close look inside the instructions, I decided to start with the Knights legs and the base. Both parts that neither used LED-Lightning, nore any magnets.
Generally, the Knight has a lot of pieces, but it’s not too complicated to build. Only when you change the pose, you might have to cut some pins or readjust some pillars. Since the left leg of my Knight is trampling a demon right now, I had to modify three parts of the model. The joint between the leg and the foot was in the wrong angle, the pillar on one side og the leg got too long and I removed the pin on the “hip” of the Knight, between the two legs, where the torso is set on.
All in all pretty easy and smooth and the rest was decorating the scenery.
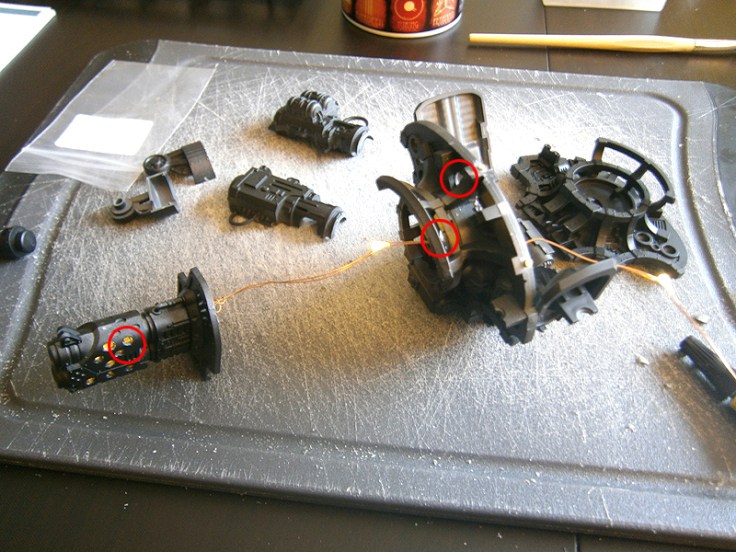
After finishing this part, it was time for the second half of the Knight and the LEDs. The plan was to hide the batteries in the torso and to glue the Thermal Cannon to also light it with some LEDs, so planning was pretty important.
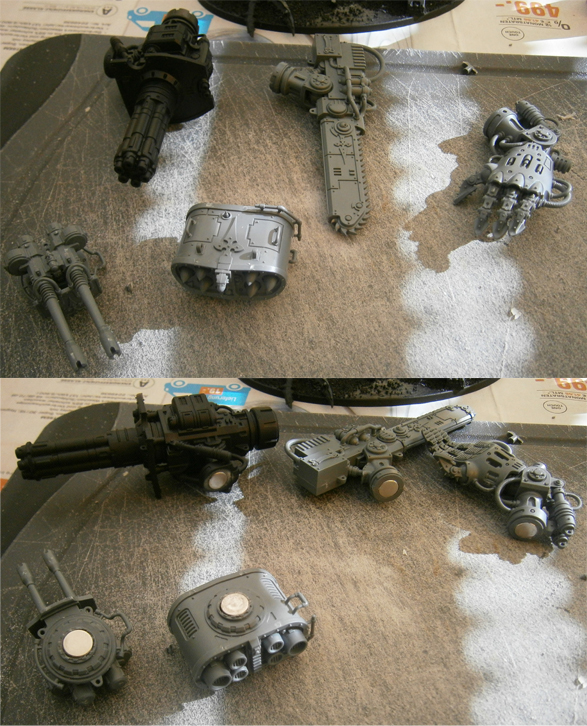
After cutting all parts for the torso and the Thermal Cannon, I drilled several holes in the side of the torst. 2 holes for additional lighting under the shoulder pads and 1 hole where the Cannon was about to be attached. Also, take a good look at the inner side of the weapon parts and remove some plastic where there is no place for a wire yet.
I also drilled some additional holes in the Thermal Cannon itself, to get more use of the LEDs.

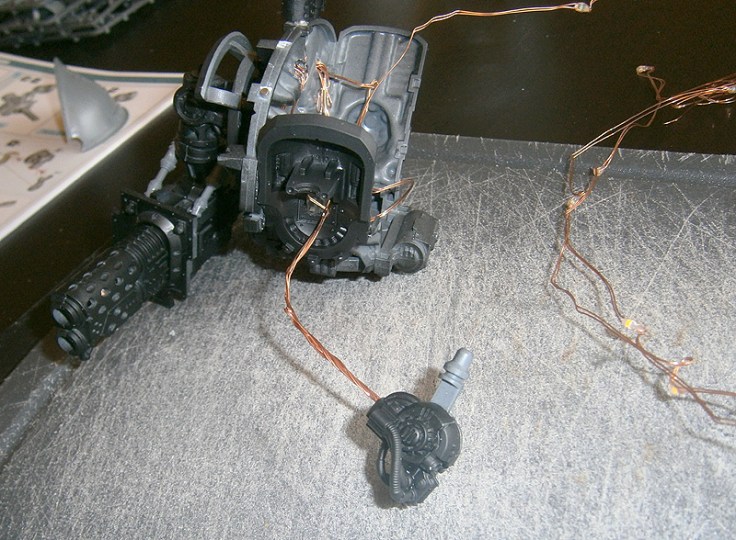
Assembling the Cannon was easy enough after that. But now it was time for the head and the tailpipes. Unfortunately, I have only few photos of that and the quality is pretty bad …
Firt of all, I cut another hole in the sides of the torso, where the pipes where attached later on. For the pipes themselves, it needed a lot more work. First you have to cut a path from the bottom of the pipes to the grid at the top. There is already a channel inside the pipes, but at some points its blocked. The really important part was to drill the holes in the grid. I don’t have a driller in that size, so I simply heated a needle and melted the holes inside the plastic. Works pretty well and only needs to be cleaned up afterwards.
When everything is prepared, just insert the wire and glue everything.

Last but not least, the head. I cut a lot of plastic from the head to generate a channel from the back of the head to the front and of course I removed the eyes. Finally there was enough room for two LEDs and I could also glue the head. Which means, that it is not movable anymore, but I didn’t want that anyway.
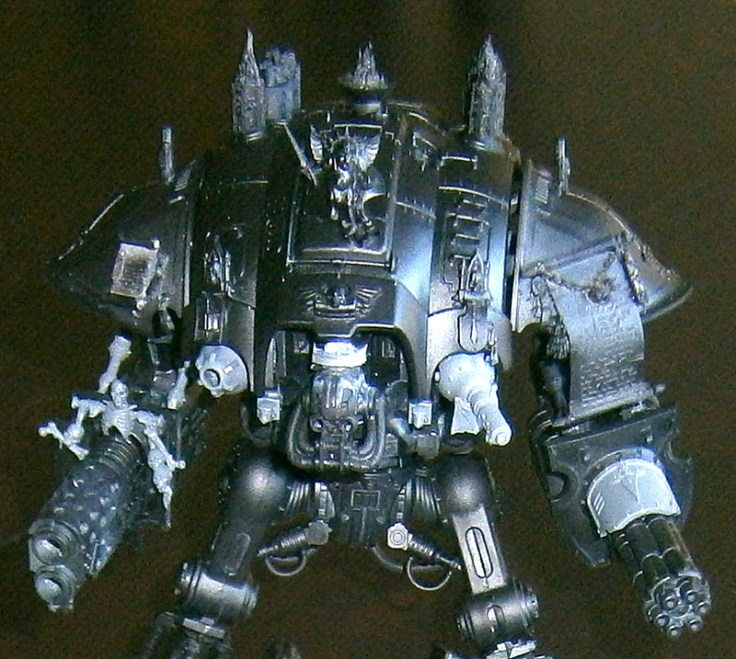
With all the lights implemented and the torso glued together, it was time for the rest of the model and the magnets.
I used some really small magnets to fixate the top-plate on the torso – so that you can still access the battery in the inside – and some bigger magnets on the left arm of the Knight.
Tip: The top-plate of the torso has two big holes for the tailpipes. Those can be very tight and if you plan to remove the plate often, make those holes a little wider or you will scratch away the paint from the pipes!
Fortunately, it is just some work to get the magnet inside the upper part, which is fixated on the torso. A common 8x4mm magnet perfectly fits into the lower part of the arm.
And of course you can magnetize the carapace weapons. Therefore, you just have to add a magnet on the center of the top-plate. Some people might also magnetize the front part of the rocket pod, but I don’t think it’s neccessary. Before a match I will just tell my opponent which rocket system it is and everythings fine.
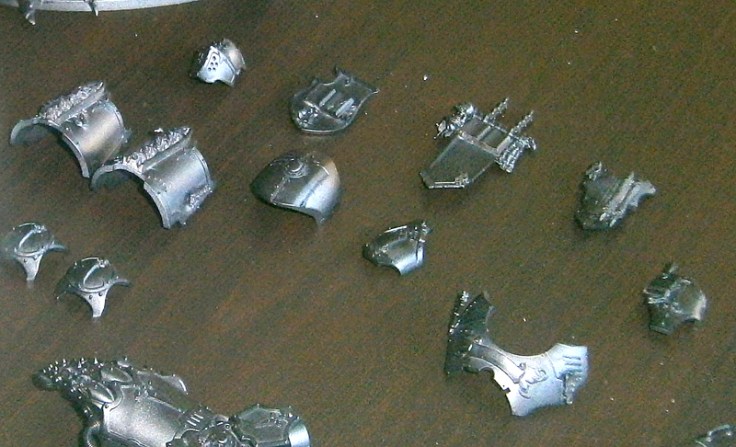
With all the lightning and magnetizing done, it was time for the style conversions and I added a lot of bits to the different armour plates of the Knight … and to some of the weapons.
- Purity Seals: 16
- Books and Scrolls: 10
- Firepans: 3
- Skulls and Skeletons: 4
- Reliques and Insignia: 6
- Obese little Cherub: 1
- Heraldic shields: 4 (2x Grey Knights, 2x Skeleton Warriors)
Sorry for the quality again, it is really time to get a new camera ..
And that’s it for now … time to get the brush and some paint! Eventhough my short vacation ended and I have no idea how to find the time for so many parts to paint.
But I will keep you updated, hope you liked the progress so far and may the emperor protect you!
